Homemade Nut Butter – A Complete Guide
This page contains affiliate links. For more information please read my Disclosure Policy.
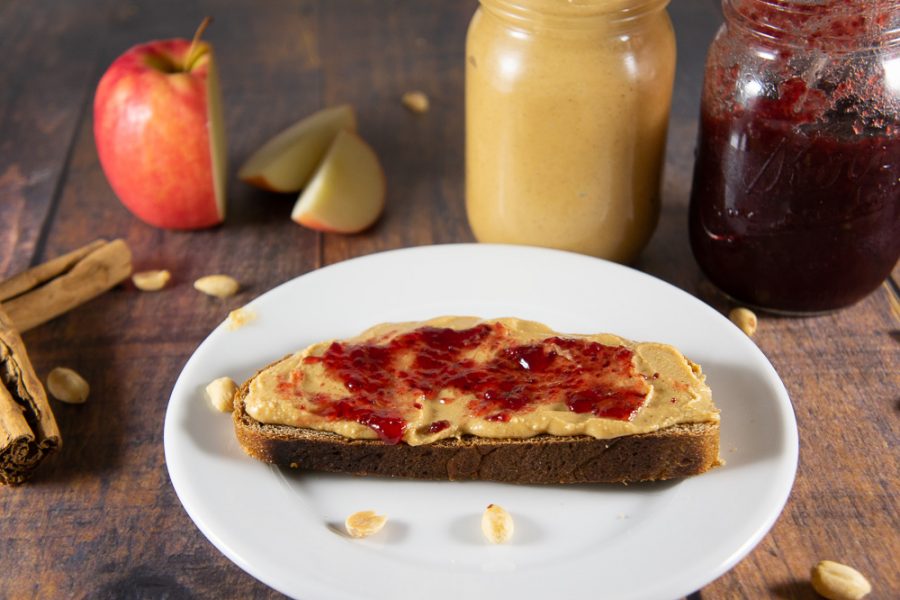
Homemade nut butter is easy to make and often more inexpensive compared to the artisan flavored nut butters you’d buy at the grocery. Natural nut butter requires nothing more than nuts, but with these helpful tips you can easily learn how to make your own nut butter a little more gourmet.
Oh peanut butter, my go to dip for apples and carrots, my breakfast spread, my eat a spoonful snack…okay you get it, I freaking love peanut butter. Actually, I love all sorts of nut butters, almond, cashew, there are so many options now it’s hard to choose! Sadly, if you’re looking for natural nut butters, they can get pretty pricey!
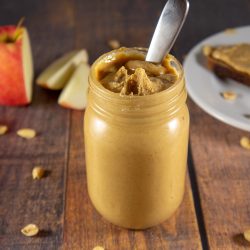
The good news is…Homemade nut butter is ridiculously simple. In less than 10 minutes, I can have fresh nut butter, catered to exactly my tastes and whims, without the gourmet price tag.
I’m going to walk you through how to make your own nut butter, with any nut and flavor you choose! You’ll also find a recipe for my personal favorite, Maple Cinnamon peanut butter at the end.

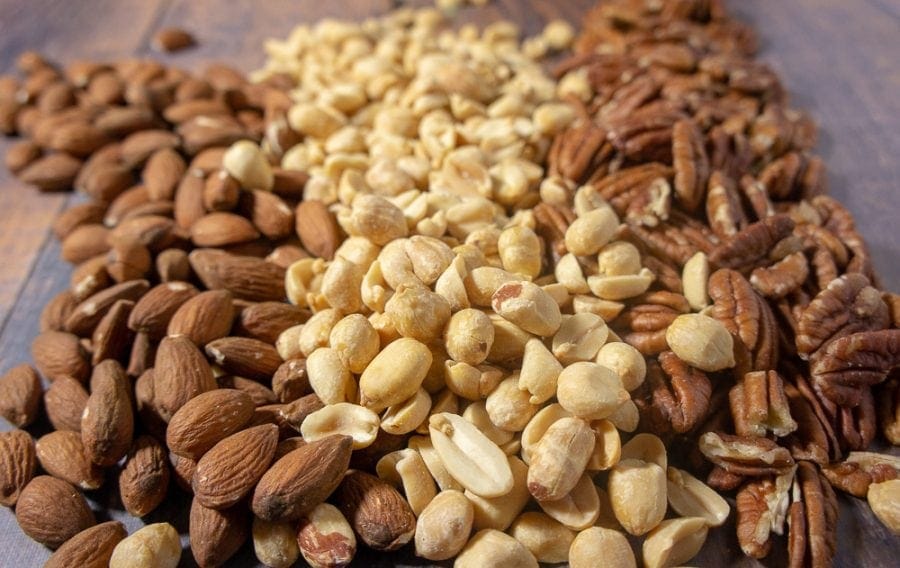
Choosing Your Nuts – Key Tips
The beauty of making your own homemade nut butter is that you can do whatever suits your needs or cravings that day. Want cinnamon honey almond butter? Or maybe vanilla spiced pecan butter? A simple maple peanut butter? Any and all can be made very, very simply.
- Buy nuts in bulk – it takes several cups to produce a reasonable amount of nut butter. Since nuts last a good while (longer if you store them sealed tightly in the fridge), buy in bulk and never be without!
- Buy Roasted, Unsalted nuts – Whenever possible I prefer pre-roasted, but not salted nuts. This allows me to control the salt level, but cuts out the roasting/cooling step. If that’s not available, I’d personally go with the unsalted option, and roast them myself!
- Here’s a great guide to toasting nuts at home – 3 different ways!
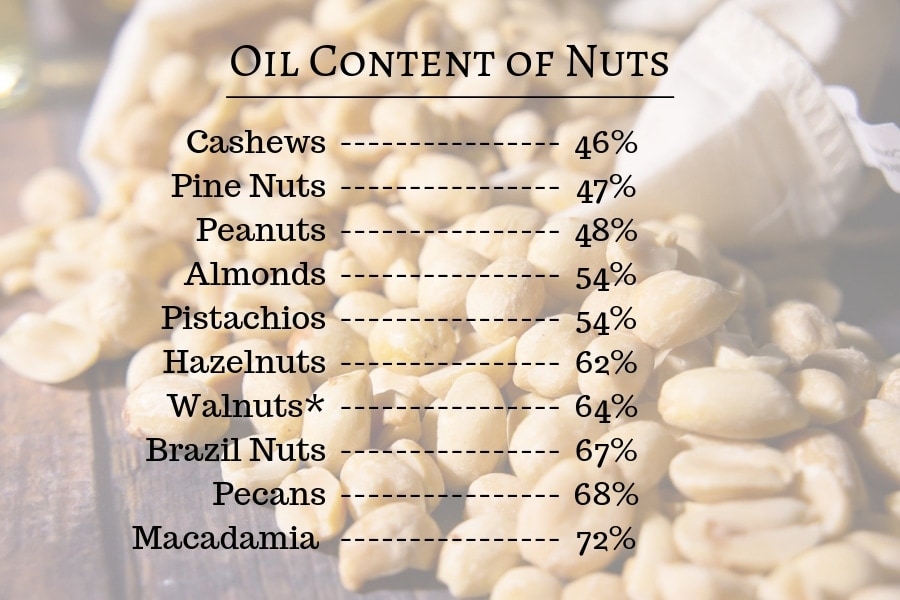
Natural Oils in Nuts
It’s also important to consider level of oil in the nut you pick. The higher the oil level, the more oil that will be released during blending, and the more liquid your nut butter will be. The nuts with lower oil content might need some added to reach the texture you like. Here’s a handy list of fat content in nuts.
When making homemade peanut butter, extra oil is unnecessary (for me). Peanuts produce PLENTY of oil, once they’ve been allowed to grind properly.
My advice is to blend first, add oil later. Many recipes call for added oil, but in my tests that produced a loose, liquid like nut butter that became drippy when it came to room temp. Let your nuts blend, it takes time, and ONLY if they’re ground into a smooth paste and you find it too thick, add oil. If needed, usually a tablespoon or two of something flavorless, like canola, vegetable, or grapeseed oil is perfect to get those nut butters to your ideal texture.
If you’re using a nut with a higher oil content than peanuts, you’ll be fine, if it seems loose, it will thicken in the fridge.
PRO TIP: Seeds can also be made into butter! (Think sunbutter made from sunflower seeds or tahini from sesame seeds) If you’re itching to try it, sesame seeds, sunflower seeds, and poppy seeds all contain natural oils in the range of 45-50%, so go for it! Toast and blend, same process!
Flavoring your Nut Butter
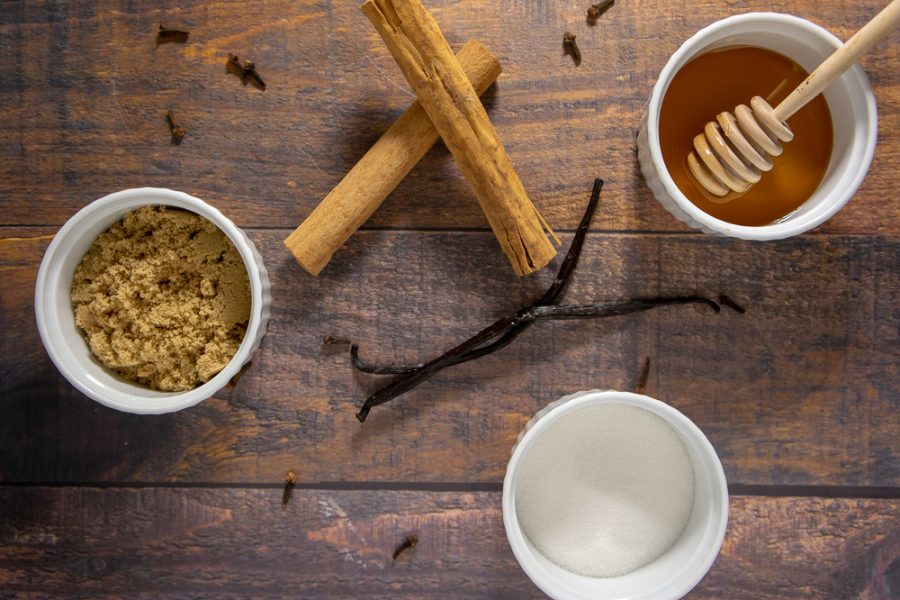
This is where your homemade nut butter goes from simple and easy to gourmet. While I ALWAYS recommend a pinch or two of salt (unless you’re using salted nuts), you can flavor your spreads any way you like. Common ingredients include sweeteners and spices.
Sweeteners – Most sugars I’ve tried work great! While syrup sugars work, add them slowly, they can produce a sticky texture if you add too much.
- Brown or White sugar
- Honey
- Maple Syrup
- Date Syrup
- Agave
- Corn Syrup
Spices – Let your creativity shine!! I’ve yet to find a spice that doesn’t blend in nicely. Start with 1/2 tsp (less for powerful spices like cayenne or clove).
- Vanilla – go with fresh scraped beans or paste
- Cloves
- Allspice
- Cinnamon
- Nutmeg
- Ginger
- Black Pepper
- Cayenne
Get Creative! – There are so many possibilties I’m sure I haven’t even thought of yet. Here are a few suggestions for unique additions.
- Cocoa Powder (nutella anyone?)
- Espresso Powder (because why not!)
- Flax seed – a lovely health boost, and a nutty flavor!
PRO TIP: It’s also useful to know that some nuts have a natural sweetness thanks to free sugar content in their makeup. Pistachios, cashews, and pine nuts have more free sugars than others and may require little or no added sugar.
You certainly don’t have to add flavorings at all! If you like the pure flavor of a nut, you can blend and enjoy. Or, if you’re feeling like a shortcut buy flavored nuts like honey roasted peanuts or cocoa almonds to make your nut butter!
PRO TIP: Be wary of water based flavoring agents! Liquid extracts like vanilla can make your nut butter seize up and become unpleasant. Instead, add fresh vanilla bean or paste. Always wait until the end to add your flavorings and use syrups sparingly!
Making Homemade Nut Butter
Alright, you’ve chosen your nuts, and you’re ready to make some homemade nut butter. It’s so simple with just a few steps. I recommend a food processor or a quality blender to get the job done.
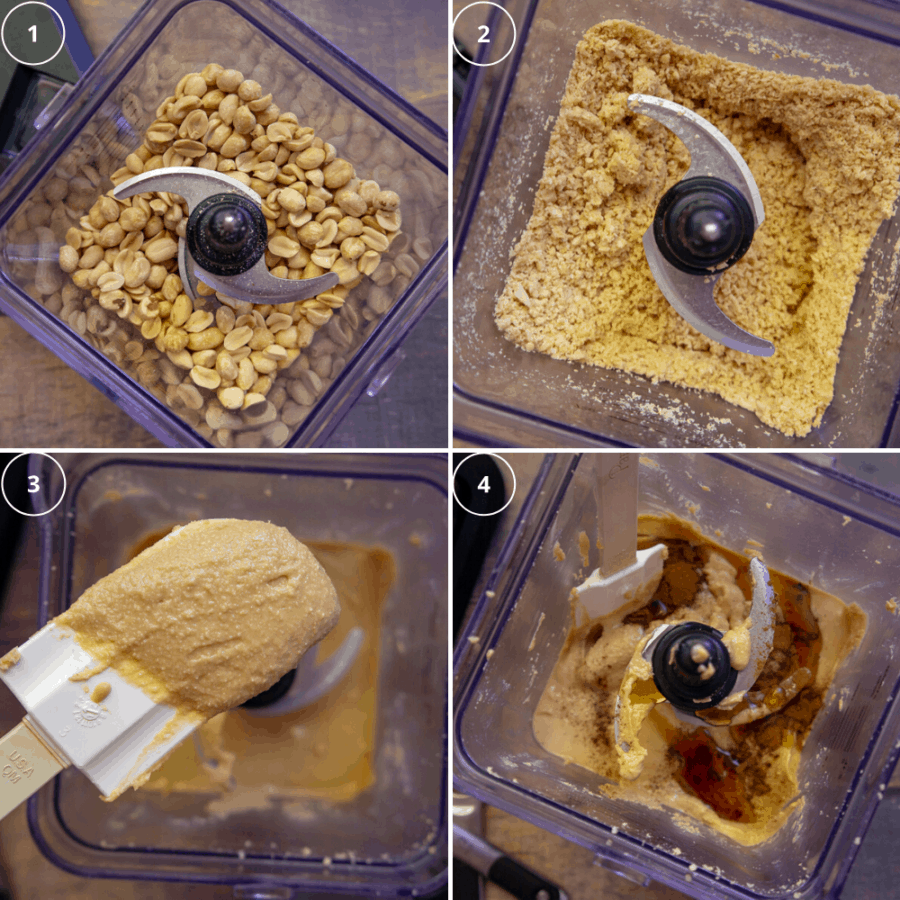
- Add your nuts to your blender/processor. Blend until creamy. This will go through several stages.
- First, your nuts will turn into crumbs, scrape down the sides with a spatula and blend again.
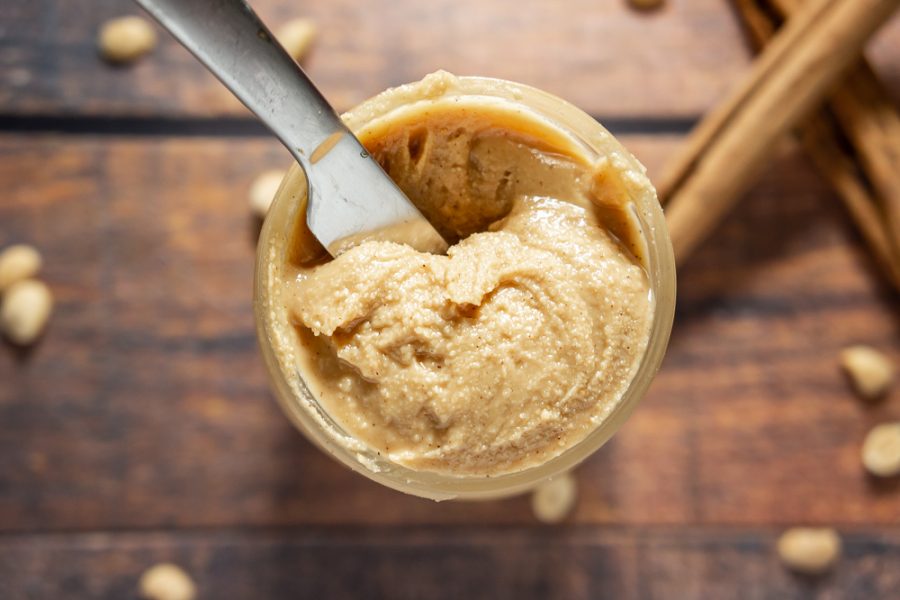
- It will turn to a crumbly paste. Keep blending, occasionally scraping down the sides. As the nuts get finer the oils will release and a paste will form.
- If you like chunky nut butter, stop when you’ve reached a happy place. If you like it completely smooth, keep blending.
- Add Flavorings. When you’ve hit a consistency you like, add your flavors. Blend to incorporate and taste. Adjust if needed. Once the flavors are to your liking…you’re done!
- Store in jar or container in the fridge. Without stabilizers like the store bought stuff, your nut butter needs the cold. Be sure to keep your homemade nut butter in the refrigerator, where it will keep for 4 weeks. You can also freeze it for up to 4 months.
You can expect this entire process to take about 10 to 15 minutes in your average food processor. If you have a high powdered blender like a ninja, it took about 4 to 5 one minute cycles.
PRO TIP: A blender will produce more heat when making natural nut butter. It’s best to work in cycles, blend for a minute or two, scrape down the sides, repeat.
FAQ’S
If there is any water based liquid added to your mixture while blending this can cause nuts to seize. Avoid vanilla or other extracts, juices, and make sure your blender or processor bowl is dry and clean before beginning.
Two choices, either blend to the point of it having small chunks and stop. (Adding some oil may be needed if you don’t blend the nuts smooth.) OR, blend into a smooth paste and add coarsely chopped nuts, mixing them in like you would a batter.
This is common for nuts with high oil content, simply stir it in and use. I find this happens less in the fridge, almost never with peanuts or other low oil nuts.
Hey, there are no rules here! Maybe Pistachio almond butter is the new thing!
Go Nuts!
Now you know everything you need to make homemade nut butter, so go on! Next time your at the market, take a glance at those fancy gourmet nut butters, check out the flavors, and then walk away with a smile and make it yourself for cheaper. As always, happy eating!
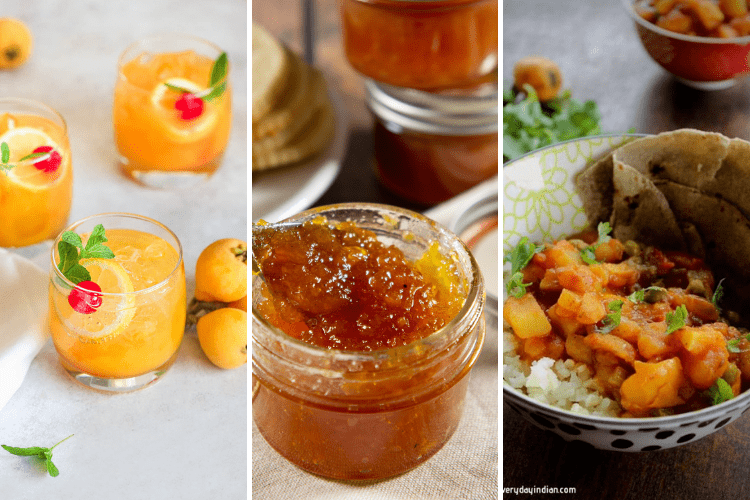
While you’re here, check out these other pantry staples you can make at home:
Homemade Nut Butter (Maple Cinnamon Peanut Butter Suggestion)
Ingredients
General Nut Butter
- 4 cups nut of choice
- 1/4 tsp salt
- 1-2 Tbs sweetener of choice Start with less, add more as needed
- 1-2 Tbs neutral oil optional, ONLY if needed*
Maple Cinnamon Peanut Butter
- 4 cups roasted, unsalted peanuts
- 1 1/2 Tbs pure maple syrup
- 1/2 tsp cinnamon
- 1/4 tsp kosher salt
Instructions
General Nut Butter
- Add nut of choice, to blender or food processor and blend until smooth. Pause occasionally to scrape down sides. In a good blender, 4 – 5 one minute cycles while scraping down the sides in between should work. In the food processor, expect 10-12 minutes.
- Add salt, sweetener, and oil if you want a thinner butter. Blend and taste, adjust as needed.
- Store in jar in the fridge. This recipe makes 2.5 cups of nut butter.
Maple Cinnamon Peanut Butter
- Follow the same instructions as above, using peanuts as nut of choice. Add in maple syrup, salt, and cinnamon at end and blend to combine, then store in fridge.
Notes
Nutrition
Originally Published 4/28/2019, Updated 3/29/2020
Nutrition information and cooking times are provided as a best estimate. Values may vary based upon ingredients and equipment.
What a delicious looking spread! I’ve never made anything like this; you’ve inspired me to give this a try!
I hope you enjoy the process Beth! Glad I could inspire you to give it a try!
I LOVE making my own nut butters so this is super handy! Thank you.
No problem!! Thanks for stopping by!
Wow thanks so much for listing the fat content in each type of nut!! Never even considers that. I bet the same old natural peanut butter all the time which is great but I definitely should make my own sometime (:
It’s so easy and fun, glad I could help a little!
Thanks for the guide to this. I have been wanting to make some in my Vitamix.
That’s what I use! It’s perfect, gets it done in no time at all!
You make this sound so easy! I’ve never tried making my own nut butter before, but you’ve tempted me to give it a try. I especially like the sound of the flavoured ones!
It is easy! I was surprised by how much too, it’s fun to flavor them!