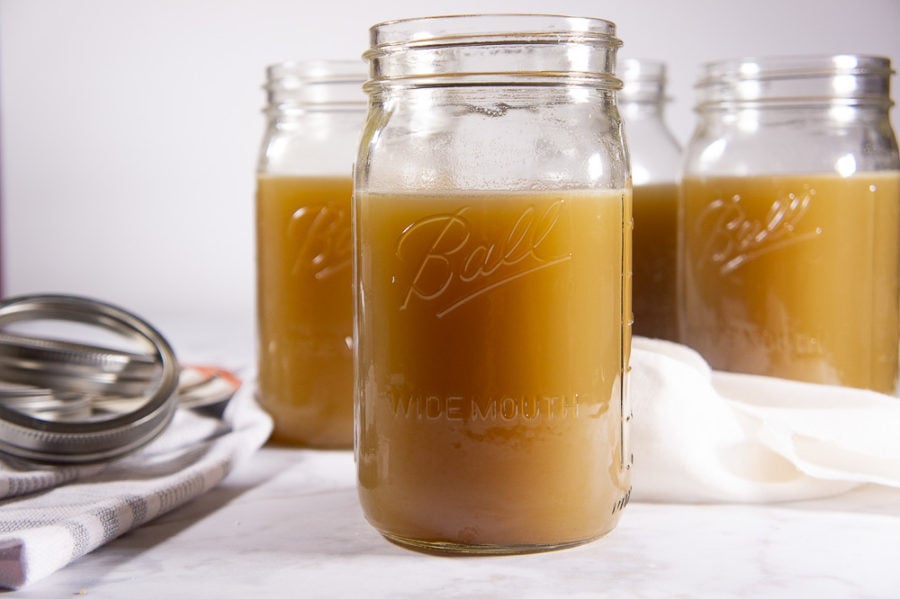
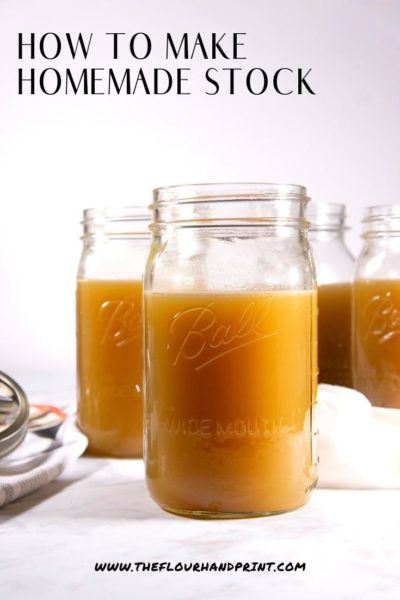
How to Make Homemade Stock
This page contains affiliate links. For more information please read my Disclosure Policy.
Vegetable, Chicken, or Beef
This is way overdue. Every few weeks I load up my stock pot and fill it up with whatever I have on hand, and a few hours later, I have homemade stock ready to go in the freezer. It’s ridiculously easy, and more importantly, inexpensive. I used to spend 2 or 3 bucks per quart of organic stock, and when you cook as much as I do, that adds up fast.
So instead, I started the simple process of saving scraps from the other groceries I was buying, then with no more cost than the pennies the water costs on my water bill and a little bit of time, I usually yield between 4 to 7 quarts. That’s at least a $10 dollar saving, and when you’re on my budget that’s important! I’m going to walk you through exactly how to make homemade stock, whether you want vegetable, chicken, or beef with nothing more than what you’re already buying.
Equipment
Making stock is easy, but there are a few tools that can make it even easier:
- A LARGE pot. I personally love my “>12 QT T-Fal Stainless Steel stock po“>t. It fits in my cupboards, and yields the right amount of stock for my freezer space. Plus it works when I do my water bath canning too!
- A fine mesh colander. I have this set of three, and I use them constantly. Strawberry syrup, homemade sorbet, of course homemade stock. This will help ensure your stock is free of particles.
- Cheesecloth. Okay, so this isn’t terribly essential, when I make vegetable stock, I don’t even bother. But for chicken and beef stock I find it really helpful for getting out the tiny gritty bits. You can get a big roll for cheap.
- A ladle. Not needed, but useful, just in general. Everyone should have a ladle in the kitchen.
The Process
Vegetable Stock
To make homemade stock all you need are some simple ingredients, water, and time. But how does one make stock without spending anything extra? Three simple words. Save your scraps.
This began for me with the tops of carrots. I always buy fresh carrots from my farmers market with their gorgeous green tops attached, but I’m not a terribly big fan of eating them raw. So instead, I popped them in a freezer bag and saved them for when I needed them. From there it spiraled! I realized I’d been wasting SO MUCH FOOD! The ends of onions, carrot peels, herb stems, greens, red pepper and apple cores…most anything is fair game!
It’s simple, when you cut up veggies for dinner or lunch, just throw any scraps in a zip top bag or freezer safe container then pop it in the freezer when you’re done. Add to it every night until you have a few bags, then you’re ready!
Chicken or Beef Stock
I personally love vegetable stock, I always have the ingredients to make it, it takes the shortest amount of time, and it’s delicious in anything I need stock for.
If however I have the bones for beef or chicken stock, I will absolutely make it. For my 12 Qt pot, 2 chicken carcasses, with any scraps left on them makes a full 6 quarts of rich chicken stock. A few large beef bones will do the same.
I personally prefer the flavor I get from roasted bones. This is easy to do for chicken. Roast a whole chicken for dinner and save the bones and any leftover scraps (including any innards removed before roasting. Or, if you want the easier route, you can pick up a rotisserie chicken (which are usually the same cost as a whole chicken and all the seasonings/butter you put on it) and save the bones from that when you’re done.
For beef bones, you can buy bone in steaks and save them, but that takes time and can be pricey. You can also just ask your butcher to sell you some beef bones on their own take them home, and roast them in the oven.
Either way, if you have the bones and aren’t ready to make stock in a few days, you can save those in the freezer too!
Fill The Pot
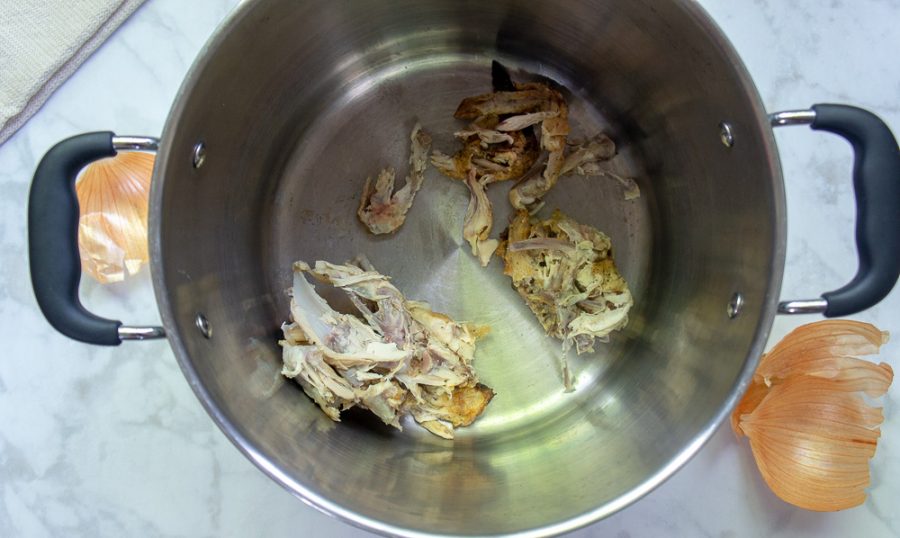
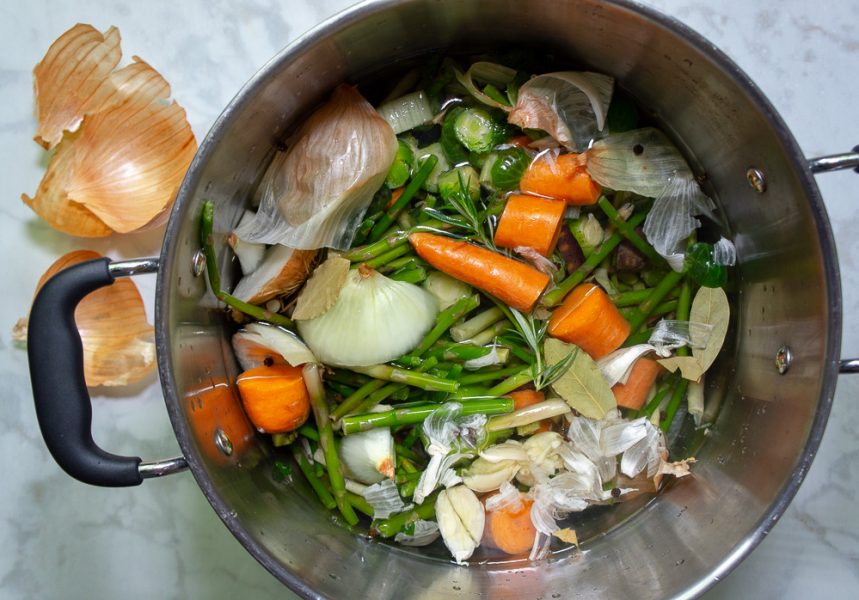
When you’re ready, fill up your pot with your bones if using, then all the veggies that you’ve saved up. Here are a few things I always add to the pot, regardless of what I’ve saved.
- Garlic, 3 or more cloves, smashed to release oils and flavor
- 1 whole onion, skins, roots and all, chop into large chunks (unless I’ve got tons of saved onions or leeks)
- Peppercorns, a small handful
- A few pinches of salt
Fill the pot with water, several inches more than the level of the vegetables you’ve added. Too much and your stock won’t have a concentrated enough flavor.
Next, simply place over medium high heat and bring it to a boil. Reduce the heat until you have a gentle simmer and cover the pot to reduce the amount of liquid lost.
Let it simmer until you have a flavor you’re happy with. Avoid rapid simmering or boiling or you’re liquid will reduce and you’ll have to replace it with flavorless water.
- Vegetable stock – 1 hour minimum, I usually get distracted and let it go for 2 or 3 with no consequences.
- Chicken or Beef Stock – 3 hours is the minimum amount of time for me to really begin to taste the flavor of the beef or chicken, I’ve let it go for 4 to 5 when I get busy.
Straining and Storing
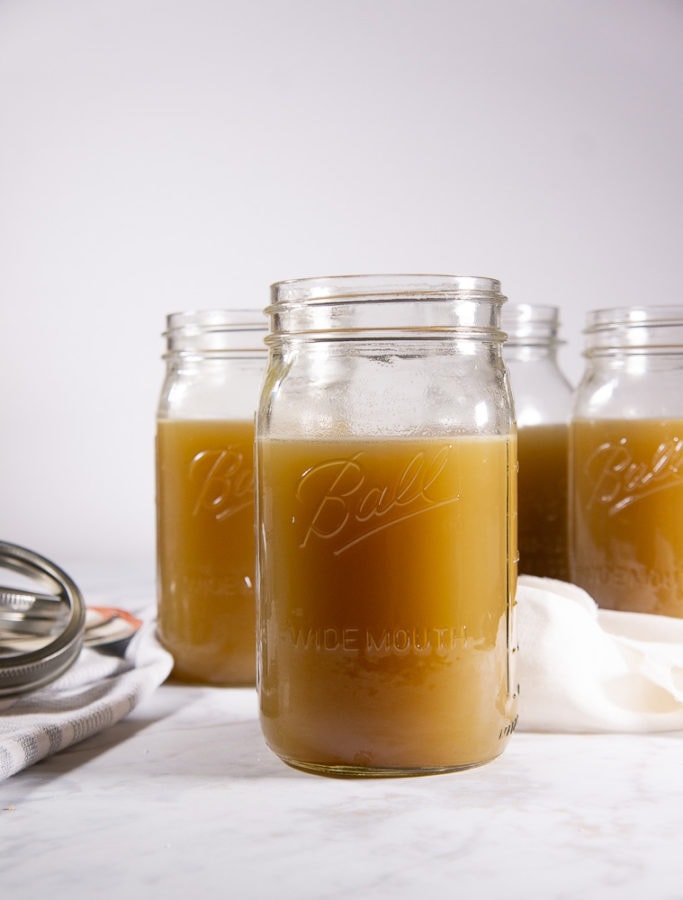
When your stock has cooled slightly (don’t scald yourself), you can begin ladling it into your storage containers.
For vegetable stock, ladle through a sieve fine enough to catch any small pieces. As soon as its cool, close the containers and store in the fridge for up to 7 days, or the freezer for up to 4 months.
For chicken or beef stock, an extra step is required. If you have a fat separator you can absolutely use it to remove any excess fat floating on the surface of the. I don’t have one so I do it a bit differently.
Start by straining the liquid through a sieve lined with cheesecloth. Once cool, store all the stock in the fridge overnight. The fat will solidify on the surface. Restrain it through a cheesecloth lined sieve while still cold to separate the fat. Then store in the fridge for 1 week or the freezer for 4 months.
Freezing – Some people prefer mason jars. I’ve had too many shatter and it irritates me to lose them and to have to clean it up. For homemade stock I intend to freeze I use reusable plastic containers that are BPA free.
Ingredients
It really is that simple! The process isn’t complicated, and I don’t need to tell you how essential stock is in cooking. I use it multiple times a week. So instead, I’d like to share the experiences I’ve had with the ingredients I’ve used to make it. Some are surprising, and some I’d recommend you avoid all together.
Always Save – The Key Ingredients
- Peels, roots, or scraps of Onions, leeks, shallots, or garlic.
- Carrots scraps and peels
- Celery roots and scraps
- Herb stems and scraps
Delicious Add ins
- Fruit cores and scraps – apples, pears, and tomatoes are my favorites
- Scraps and cores from bell peppers. (Spicy peppers can make a broth spicy so be light if you choose to use them)
- Greens – carrot tops, beet tops (will affect color), leftover and stems of spinach, kale, mustard greens, collard greens, or chard.
- Leftover tomato paste (no more than a few tablespoons at most)
- Dried mushrooms, or mushroom stems and scraps
- Prunes (These are AMAZING, they add a surprising depth and flavor with just a small handful.
- Winter squash rinds (avoid the pulp/seeds)
- Sweet potato, beet, or corn cob scraps/peels
- Citrus peels (take it easy, and zest if possible to avoid bitterness)
- Dried herbs – bay leaves, rosemary, oregano, basil, thyme
- Whole Spices – allspice, coriander, clove (be easy with them)
Avoid Too Much of…
- Brussel sprouts, broccoli, cauliflower, and cabbage – I have used these, and a little bit won’t hurt you, but they do give off a distinctly unpleasant smell and flavor when boiled.
- Flavorless items – I find potatoes and lettuces to be unnecessary bulk that don’t add to the stock at all.
- Anything off or rotten – this should go without saying, but if you have a soft onion or a moldy tomato, don’t add it to the pot. Scraps are fine, but scraps from healthy, delicious vegetables that are frozen to preserve them until use.
There you have it! There are more options I’m sure than I’ve even listed here, but this is a good list of things to get your imagination going. I really, really hope this convinces you to give it a try. Even if you’re just in a pinch and need a quick, flavorful broth for soup or cooking grains, it’s always better than water for your overall dish.
If you use stock as much as I do, and opt for making your own, you can save what I am, about $350 dollars a year.
Experiment and let your personal tastes guide you, soon you’ll cultivate a list of favorites that you add and a list of things you weren’t a fan of. Start saving your scraps and until next time, Happy Eating!
Nutrition information and cooking times are provided as a best estimate. Values may vary based upon ingredients and equipment.


I love making my own broth and this is a great recipe. The broth turns out super-flavorful. Thanks so much for a great recipe.
Megane, it is great to hear that your broth came out full of flavor!
This post was so helpful! I never make broth, but I followed your guide and it came out perfectly. Thanks!
Erin, you’re welcome, I love having stock on hand at all times and homemade stock always has more in depth flavor. Enjoy using it in your recipes.
I love having homemade stock on hand. Thanks for the tip about using roasted chicken bones. My chicken stock was so flavorful.
Amy, I am thrilled my tip help add great flavor to your homemade stock!
I hadn’t thought of using fruit scraps. What a great idea! It gave the broth a lovely flavor. Will make again!
Erin, isn’t it great how the unexpected can really enhance a recipe. I love that you enjoyed the flavor the fruit scraps added!
Love the idea of using leftover veggie scraps for this. Will have to try it out.
I hope you do! It’s a real money saver
Great overview of how to make something everyone should have handy for so many different meals. And it is important to know how to make it if you need to, so definitely a very useful recipe to bookmark.
I agree, it’s useful to know even if you don’t always do it!
This is such a helpful recipe! I’ll never buy stock from the store again!
Glad I could inspire you to make the switch! I think you’ll find it as easy as I do!
Love how easy and tasty this is! Fabulous Recipe!
Thank you!!
Wow this is a really detail post. Definitely a nice resource for making stock.
I do like to be thorough! Glad I could provide the resource 🙂