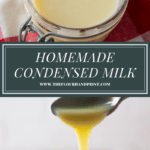
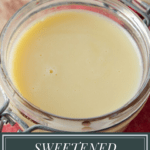
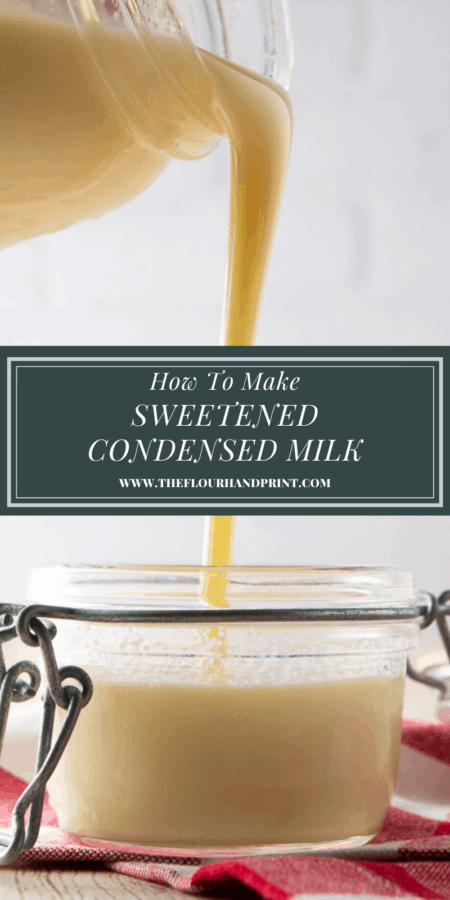
How to Make Sweetened Condensed Milk
This page contains affiliate links. For more information please read my Disclosure Policy.

Homemade sweetened condensed milk is a simple process that only requires 2 ingredients, milk and sugar! Read on to learn how to make sweetened condensed milk, including dairy free versions, and get all the tips you need for making and using your homemade batch.
Sweetened condensed milk is one of those things that you don’t need until you need, at least in my kitchen! I usually had a can lurking in the back of my pantry. It moved from apartment to apartment…until I needed it one day when I decided to test out making my own homemade coffee creamer, and I realized it was way past acceptably expired.
I quickly learned that making your own isn’t only easy, it’s better. Sweet, syrupy thickened milk all warm and delicious…it’s seriously scrumptious enough lick from your spoon…and pot. (No judgement here!). Plus, you can make it when you need, freeze the extra, and use it to make tons of recipes like coffee creamer, oreo dump cake, Thai iced tea and much more.
The Ingredients
Thankfully, homemade sweetened condensed milk is remarkably simple. Milk and sugar is all you really need. In an easy, 3 to 1 ratio of milk to sugar, I thought I’d share some tips on choosing the milk and sugar that work for you.
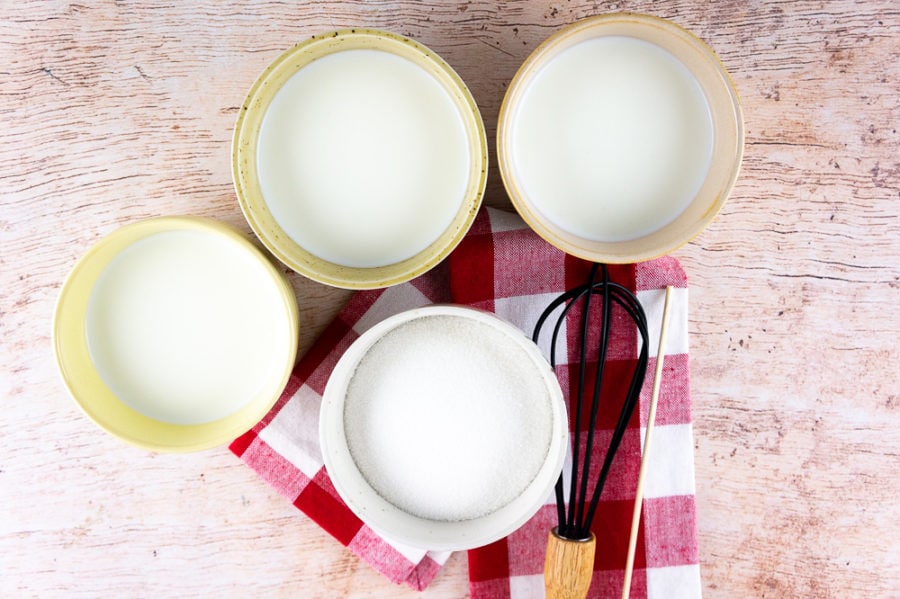
Milk – Choosing milk is important! Your choice will absolutely affect the thickness, richness, and flavor of the final product. A few tips…
- A full fat milk will yield a creamier, thicker product. Whole cow’s milk is my preference, but you can even use heavy cream if you’re after a seriously luscious final product.
- You can use ANY non-dairy milk you want! Almond milk will yield a thinner, runnier condensed milk while coconut will be very thick.
- Depending on your milk choice and you’re intended use, you may need to reduce it less or more than my recipe to get the right thickness.
Sugar – for the most similar flavor to the canned condensed milk, white granulated sugar is my preference. However, you again have choices! A few tips, and warnings, to get you going on the right foot.
- The sugar you use has a strangely minute effect on final flavor. Using the most expensive cane sugar I could find didn’t produce a better homemade condensed milk than generic granulated sugar.
- You can use: Granulated, cane, turbanido, coconut sugar, or even pure maple syrup (so expensive though!).
- Brown sugar contains molasses and due to the acidity content of molasses, this can cause curdling in your condensed milk. I personally have not had any issues with turbanido sugar, but brown sugar has on occasion caused this. Since it makes NO difference in flavor, I don’t recommend doing this.
- Stevia or Splenda, or any other sugar alternatives do NOT work the same as sugar. I recommend using only sugar substitutes that can be exchanged in baking as a 1 to 1 replacement.
Other Ingredients – When I first began testing, many recipes called for butter, baking soda, or vanilla. I found each of them completely unnecessary.
- While butter may lend richness, it also separated in the jar after cooking. Condensed milk is plenty rich on it’s own.
- Vanilla may add flavor, but it really, really isn’t needed. Instead, wait to add flavoring until you’re using your sweetened condensed milk in your recipe.
- Baking soda, as food scientist reader kindly pointed out, can aid in the caramelizing of the sugars. This is only really desired if you’re cooking past the point of sweetened condensed milk into dulce de leche. If that’s the case, go ahead and add a half teaspoon or so.
My advice – keep it simple and inexpensive, just use milk and sugar.
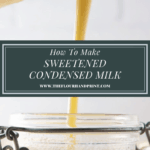
How to Make Sweetened Condensed Milk
Making homemade condensed milk is a very simple process! What’s important is the ratio and the time. 3 cups (24 ounces) of milk and 1 cup of sugar is the perfect ratio for ideal sweetness and thickening. With whole milk, this yields about 1 cup of condensed milk.
For those using skim, almond, or other thinner milks, to achieve a thicker end result you’ll have to reduce longer and therefore it will yield less.
Pro Tip: Using your condensed milk for drinks like Thai iced tea or homemade coffee creamer? Reduce your milk less for a thinner, more beverage friendly end result.
Making homemade sweetened condensed milk is as simple as the ratio. Mix milk and sugar, reduce. That’s it. The name really does say it all, you’re simply condensing milk with a sweetener.
Fast Method – adding sugar to milk changes the nature of it, reducing the risk of scorching your milk. This makes it possible to cook your condensed milk in under an hour. Be advised, the scorching risk is reduced, not eliminated.
- Combine your milk and sugar in a pot and place it over medium high heat.
- Stir as it heats to dissolve the sugar.
- Continue to stir until the mixture comes to a gentle boil, then babysit.
- Stir frequently. Scrape along the bottom to prevent scorching, until your milk is reduced by 2/3 and thickened.
Slow Method – This method lets time and gentle evaporation do the job while you’re free to wander away and work on other things! (If you’re curious, remove the sugar and you can make evaporated milk this way too!)
- Combine milk and sugar in a pot and place is over medium high heat.
- Stir as it heats to dissolve the sugar.
- Continue to stir until it comes to a gentle boil, then crank it down to low. Continue to stir until the mixture is steaming rapidly, but not bubbling.
- Give it a stir every 20 minutes or so, until your mixture has reduced by 2/3, around 3 hours.
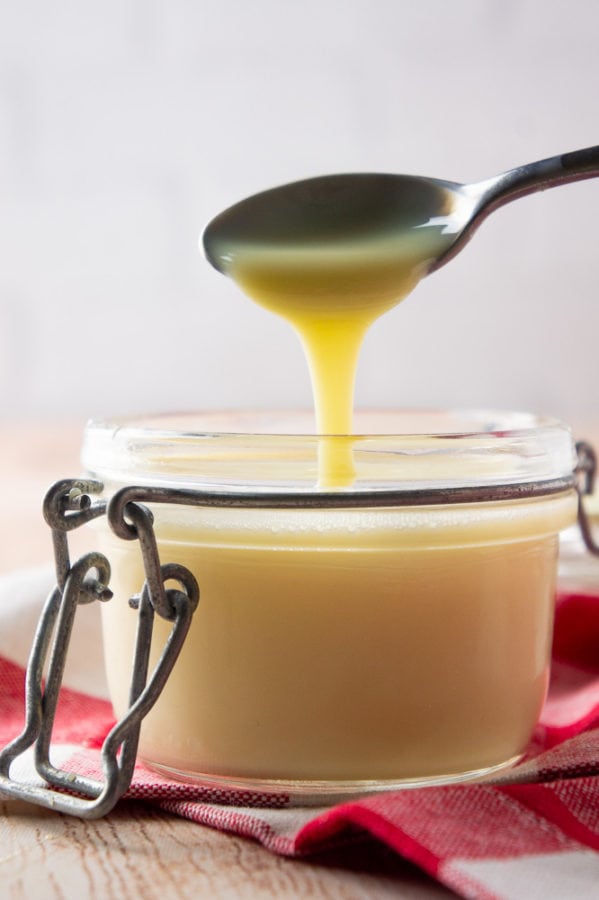
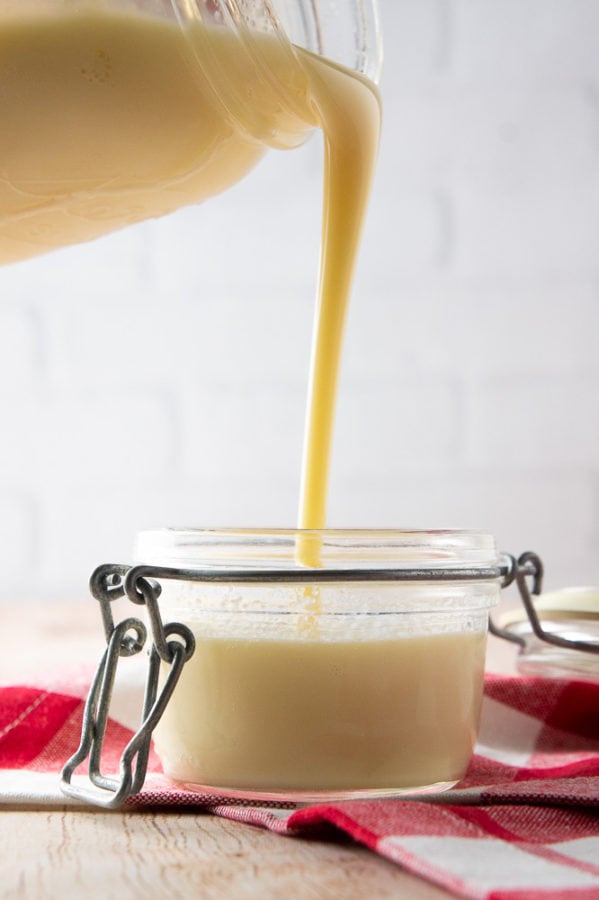
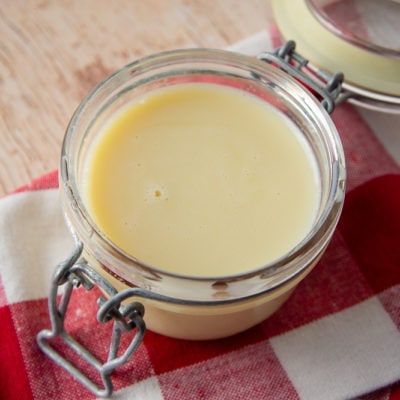
When your done, regardless of the method you choose. Pour your condensed milk into a storage jar and allow to cool. It will thicken as it cools. Seal and store in the fridge for up to 1 month, or in the freezer for up to 3.
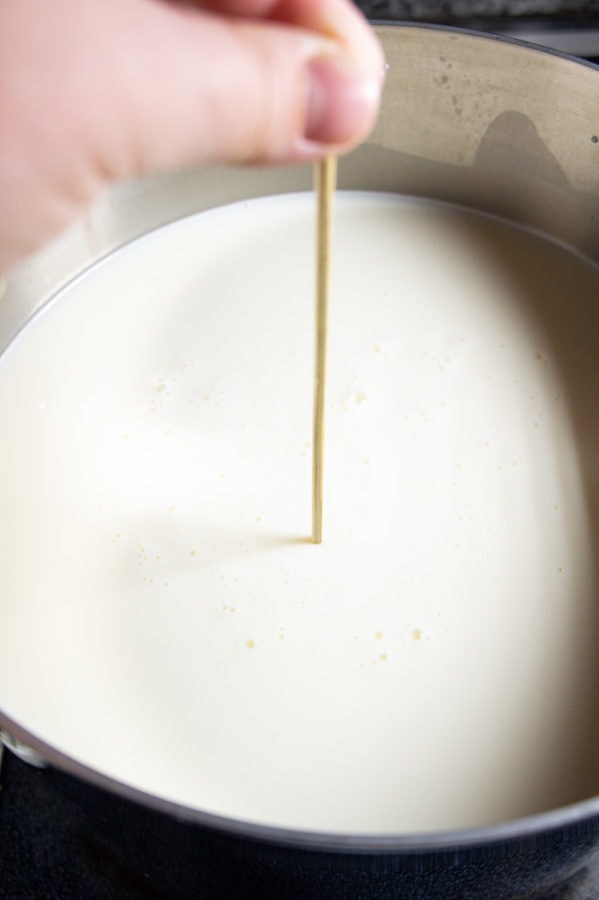
Bonus tip – to check how much the milk has reduced, you just need a wooden skewer and a marker. When you first put the pot on, mark the milk level with the marker. When the milk level is one third the height of the original, you’re all done.
FAQ’S
Yes, if you’re not happy with the thickness you can reduce it further by returning it to a pot and cooking it more.
The only way I know of to make homemade condensed milk safe for shelf storage is to use a pressure canner. If you have one, refer to your pressure canners instructions to do this safely.
Yes, If you have a can of evaporated milk, you can dissolve sugar into it over gentle heat to create a similar product.
Yes, it can be made with powdered milk if you have more of that available to you than powdered milk. Here’s a link to a great blog post on how to make it with powdered milk!
NO! While it may not have been your intention, the stage beyond condensed milk is dulce de leche. Delicious, caramel and definitely not ruined. Whether you’ve cooked it all the way down to real dulce de leche or you have just a hint of caramel flavor, it’s fine to use.
Uses for Sweetened Condensed Milk
Odds are if you’re looking for this kind of recipe, you probably needed sweetened condensed milk and found yourself in a pinch like I did. I hope you’re well on your way to whatever you needed it for now!
If however you end up loving your homemade sweetened condensed milk as much as I did and you’re looking for excuses to use it more often, here are my favorite suggestions!
- Homemade Coffee Creamer
- Brioche French Toast
- Chocolate Caramel Slices
- Chocolate Dipped Gluten Free Coconut Macaroons
- Cinnamon Roll Poke Cake
- Authentic Key Lime Pie
- Easy Avocado Ice Cream
- Lemon Mango Pie
- Caramel Fudge (Russian Fudge)
Homemade Sweetened Condensed Milk
Ingredients
- 1 Cup Sugar Use sugar of choice: granulated, cane, turbanido etc.
- 3 Cups Milk Any milk of choice!
Instructions
- Combine sugar and milk in a large pot over medium heat.
- Bring to a boil, stirring to prevent burning.
- Once boiling, reduce heat to low, maintaining enough heat to keep milk steaming.*
- Stir every 20 to 30 minutes until milk has reduced by two thirds, or is close to desired thickness. (It will thicken as it cools)
- Pour into storage jar and allow to cool. Seal tightly and store in fridge up to 1 month.
Notes
Nutrition
Originally published 3/15/2019, Updated 3/23/2020
Nutrition information and cooking times are provided as a best estimate. Values may vary based upon ingredients and equipment.


HELP. I stirred constantly for over an hour. Milk thickened, and color looked great. Poured into jar to cool and something separated??? There’s a lighter clear colored liquid in the bottom of jar. Some sugar crystals formed as well. Can this be corrected? Thanks
Hi Tonya! I’m sorry you’re having trouble! I have never had that happen to me, but I would certainly try to salvage it if it were me. If it’s cool, I’d pop it into a blender on low and see if that doesn’t help emulsify it back together. I hope that works, please let me know!
THANK YOU !!! It worked. Smooth, and taste amazing. Wish I could attach a before and after photo.
Oh yay! I’m so glad to hear that! Thank you letting me know and sharing it here for others :).
Can I can this? How long does it stay good for canned or not canned?
Jenna thanks for asking, As to canning I have addressed this in my FAQ’s and this is my answer/advice: “The only way I know of to make homemade condensed milk safe for shelf storage is to use a pressure canner. If you have one, refer to your pressure canners instructions to do this safely.”
For storage I suggest: “Pour your condensed milk into a storage jar and allow to cool. It will thicken as it cools. Seal and store in the fridge for up to 1 month, or in the freezer for up to 3.”
Please let me know how it turns out and what you might use it in, I love to hear from anyone who uses my recipes!
It was easier to make homemade condensed milk than I thought it was going to be! No more store bought for me.
It is quite simple isn’t it and it definitely tastes so much better!
Thus recipe saved the day! We needed condensed milk for our dessert and realized didnt have any, but your recipe was super simple and it came out better than store-bought, thanks!
That is terrific Laura, I just made some myself yesterday so I could make an old family recipe. I’m glad it was simple and you like my homemade condensed milk so much.
This recipe for sweetened condensed milk is perfect, it has the best taste and I will definitely be making this again, thank you for sharing this!
Fantastic Ramona, I’m glad you love the flavor. One of my favorite uses for it is to make Homemade Coffee Creamer.
This came out perfectly! I’ll never buy another can of condensed milk again! Thanks for sharing. Great recipe and instructions.
Dee, thanks I love hearing that my recipes not only taste great but also that my instructions are clear and easy to follow!
I never knew I could make homemade condensed milk but I did. Great recipe and it was surprisingly easy. Thanks for sharing.
Megan it really is quite simple isn’t it. Use it alone for coffee or in a recipe or use it to make Homemade Coffee Creamer!
I found this recipe for homemade sweetened condensed milk and it turned out great! It was so easy to make and much cheaper than buying it at the store. The consistency was just right and it was perfect for making a dessert. I will definitely be using this recipe again in the future. Thank you for sharing this!
I do enjoy hearing from people who try my recipes and love them so much they will use them over and over again! Perhaps you might also enjoy Homemade Coffee Creamer, that is made with this condensed milk recipe!